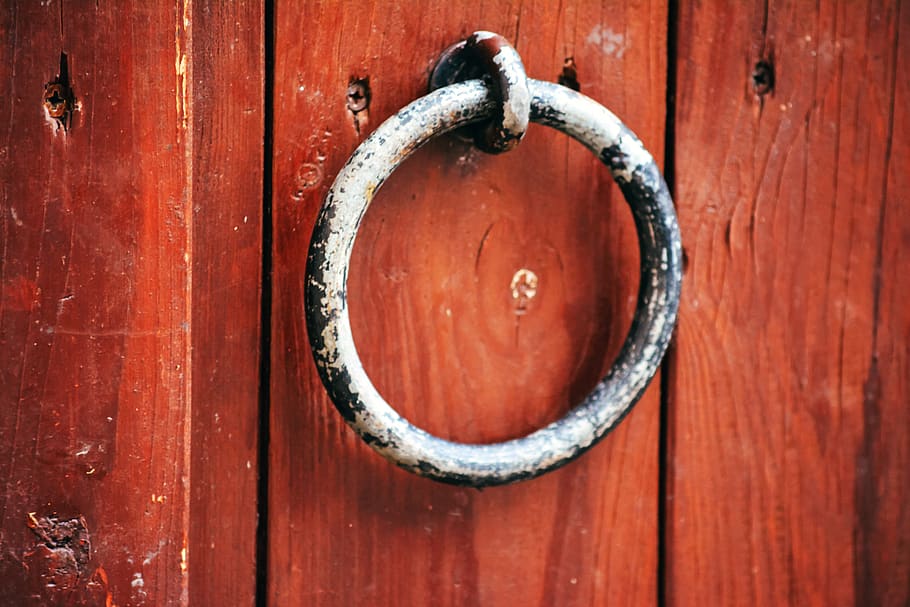
A gate ring latch is a functional and aesthetically pleasing addition to any fence or gate. It not only provides security but also adds a touch of elegance to your outdoor space. Installing a gate ring latch might seem like a daunting task, but with the right tools and a systematic approach, you can easily achieve a professional-looking result. In this guide, we will take you through the step-by-step process of fitting a gate ring, ensuring your gate not only functions smoothly but also enhances the overall appeal of your property.
Contents
Tools and Materials Needed
Before you begin the installation process, make sure you have the following tools and materials at hand:
- Gate ring latch kit (includes latch, screws, and other necessary components)
- Screwdriver
- Drill
- Measuring tape
- Pencil
- Level
- Safety glasses
- Gloves
- Spirit level
Step-by-Step Installation Guide
- Choose the Right Location: Start by determining the ideal location for your gate ring latch. Ensure that the latch is easily accessible and at a comfortable height for operation. Consider both functionality and aesthetics when selecting the placement.
- Measure and Mark: Using a measuring tape, mark the desired location for the gate ring latch on your gate. Use a pencil to make clear, visible marks.
- Prep the Gate: If your gate is made of wood, drill pilot holes into the marked spots. This will prevent the wood from splitting when you insert the screws. For metal gates, you may need to use a metal drill bit. Wear safety glasses and gloves to protect yourself during this step.
- Attach the Latch: Take the latch from the kit and place it over the pilot holes or marked spots. Insert the screws provided in the kit through the holes in the latch and into the pilot holes on the gate. Tighten the screws using a screwdriver.
- Check for Level: Use a spirit level to ensure that the gate ring latch is properly aligned and level. Adjust the latch if necessary before fully tightening the screws.
- Test the Operation: Open and close the gate several times to test the latch’s functionality. Make sure it operates smoothly and securely locks in place.
- Install the Latch Keeper: The latch keeper is the component that receives the latch when the gate is closed. Install the latch keeper on the gatepost or the adjoining structure. Ensure that it aligns perfectly with the gate ring latch when the gate is closed. Mark the position and attach the keeper using the same process as you did for the latch.
- Final Check: Double-check the alignment and operation of the gate ring latch and keeper. Make any necessary adjustments to ensure a secure and smooth closure.
- Finishing Touches: Once you are satisfied with the latch’s installation, give your gate a final inspection. If needed, touch up any paint or finish around the latch and keeper to maintain a polished appearance.
Locksmith
Finding yourself locked out of your home or car can be a stressful and frustrating situation, but thankfully there is a solution available 24 hours a day in Pembroke – the 24-hour locksmith. With their round-the-clock availability, these skilled professionals are able to provide speedy and reliable assistance whenever you find yourself in need.
It’s important to have the contact information for a reliable locksmith pembroke saved on your phone or written down somewhere easily accessible. You never know when an emergency might arise, and having a trusted locksmith that you can rely on will give you peace of mind knowing that help is just a phone call away. Whether it’s getting locked out of your house late at night or losing your car keys during an early morning commute, a 24-hour locksmith will respond promptly to assist you.
Beyond just offering emergency lockout services, 24-hour locksmiths in Pembroke also offer many other valuable services. They are equipped with the skills and tools necessary to handle all types of lock repairs and installations, ensuring that your property is secure at all times. Additionally, they can provide key cutting services on-site, saving you time and hassle when you need extra keys made.
Conclusion
Fitting a gate ring latch might require a bit of time and effort, but the end result is well worth it. A properly installed gate ring latch not only enhances the security of your property but also adds a touch of sophistication to your outdoor space. By following this step-by-step guide, you can ensure a successful installation process that results in a functional and attractive gate latch.
Remember to always prioritize safety during the installation process by wearing appropriate protective gear and using the right tools. Taking the time to measure, align, and test the latch will ensure that your gate operates smoothly and securely for years to come. So, go ahead and transform your gate into a stylish and functional element of your property with the addition of a well-fitted gate ring latch.